Welcome to our blog!

Welcome to our blog! Learn about our farm operation, public programs, and the people behind our work through the Notes from the Field and Education sections. Peruse the Recipes section for some staff favorites.

Waltham Fields Community Farm (incorporated as Community Farms Outreach, Inc.) is a nonprofit farming organization focusing on sustainable food production, fresh food assistance, and on-farm education. For more information about Waltham Fields check out our website!

Showing posts with label cooking. Show all posts

Sunday, October 17, 2010

Baked Apples

If it's fall in New England, it's apple season in the minds of its residents! Whether picked yourself at one of our state's many orchards or brought home from a farmers market, freshly-picked apples are a good source of vitamin C and fiber, and contain several other vitamins and minerals essential to good health.

Here's an apple dessert you can try at home. As always, feel free to use different ingredients to make the dish uniquely yours.

The Ingredients:
  • Apples
  • Maple syrup
  • Cinnamon
  • Pecans, raw, chopped
  • Raisins, chopped
  • Butter
  • Boiling water (for the pan)

How to Make them:

Preheat the oven to 375 degrees F. Wash and core your apples about 1/2 inch deep, or just enough to scoop out the seeds, making sure to not cut through the bottom of the fruit. If you don't have an apple corer, a paring knife works just as well. In a bowl, combine your pecans, raisins, cinnamon, and maple syrup. Fill each apple with this mixture until almost full; place a thin slice of butter on top of each apple hole.

Gently place each apple in a baking pan or dish; fill the dish with the boiling water (the water should reach less than 1/2 the apples' height). Cook the apples for 30-40 minutes or until tender. Baste with the pan juice and let rest for a minute or two prior to serving as the apples will be extremely HOT!

Here are some ingredient ideas to experiment with:

Nutmeg
Cloves
Walnuts
Brown sugar
Dried cranberries or currants
Your favorite jam or fruit preserves


Media (text and images) created and published by Rebekah Carter (2010)

Friday, October 15, 2010

Cooking in the CLG: Fried Green Tomatoes

The crisp, cool weather so typical of October has finally arrived, bringing with it wonderful things such as colorful leaves, crunchy apples, and pumpkin carving, but also signifying the end of tomato season. Luckily, we can use the green tomatoes that never had a chance to ripen to make tasty snacks like Fried Green Tomatoes!

Dipping sliced tomatoes in cornmeal

Cookin' up the fried greens in the outdoor kitchen!

Mmmmmm... delicious!

Dede's Fried Green Tomatoes

The Ingredients:

  • Green tomatoes
  • Cornmeal
  • Garlic Powder
  • Olive oil (to coat the pan for frying)
  • Salt
  • Any other spices you wish to try out!
How to Make Them:

Slice the tomatoes into 1/4 inch thick rounds. Lightly coat your pan with oil and place over med/med-high heat. Mix together cornmeal, garlic powder, salt, and any additional spices; dip each tomato slice into this dry mixture until completely coated. Place each coated slice onto the HOT frying pan; let them cook until browned (check the bottom with a fork or spatula). Flip and cook the second side until browned. Enjoy!

Other activities in the garden this past week:

In addition to cooking up our tomatoes, we also took a trip out to the compost pile to get some fresh NITROGEN for the garden beds where we will plant garlic soon!

Tuesday, October 12, 2010

Maple Cranberry Nut Granola

Try out this easy to make breakfast, snack, or edible gift idea. It's great with milk, yogurt, or simply by itself. Don't be afraid to experiment with your own favorite nuts, seeds, dried fruits, and sweeteners. This granola is an excellent source of vitamin E and a good source of fiber, protein, and loads of other vitamins and minerals.

The Ingredients:
  • 2 cups of rolled oats
  • 1 cup of slivered almonds, raw
  • 1 cup of pecans, raw, chopped
  • 1/2 cup of sunflower seeds, raw
  • 3/4 cup of unsweetened shredded coconut
  • 1/4 teaspoon salt (optional)
  • 1/4 cup maple syrup
  • 2 tablespoons agave nectar
  • 2 tablespoons sunflower or safflower oil
  • 1 cup dried cranberries
  • Cinnamon

Preheat the oven to 300 degrees F.

Toast your oats in a large rectangular pan (13x9x2 works perfectly) for 15 minutes, stirring once while toasting.

While toasting the oats, combine your wet ingredients (oil, maple and agave sugars) in a separate bowl; whisk until completely incorporated (the mixture will get cloudy and thick).

Pull the oats out of the oven; add your nuts (almonds, pecans, coconut), seeds (sunflower), and salt to the oats and stir to incorporate completely. Then, pour on the oil-sugar mixture and mix so that all oats, nuts, and seeds are evenly coated.

Place the pan back in the oven for another 20-25 minutes or until the edges of the granola begin to brown slightly (the granola should still be somewhat sticky); stir once or twice during this time.

Dust with cinnamon, add the cranberries, and stir; let the granola sit for at least 20-30 minutes before storing as to not trap warm moisture in the container.

Here are some other granola ingredients to consider: flax seeds, peanuts, pumpkin seeds, vanilla, banana chips, apricots, raisins, dried apples, or chocolate chips.

Media (text and images) created and published by Rebekah Carter (2010).

Friday, October 8, 2010

Cooking in the CLG: Roasted Potatoes

One of the highlights of this week's Learning Garden program were the delicious potatoes (harvested right here at WFCF) that we roasted to perfection! We tried Russets and Purple Vikings from the container garden and All Blue potatoes from the CLG. Here is a simple recipe for roasted potatoes you can try at home.

Dede's Roasted Potatoes
Ingredients:
  • Potatoes
  • Olive Oil
  • Salt
  • Garlic Powder
  • Any other spices or herbs you'd like to try

How to Make Them:


Wash the potatoes and cut them into 1/4 inch slices. Toss them in a bowl with olive oil (just enough to lightly coat the slices), then sprinkle with salt and garlic powder. Place the slices on a baking sheet or in a roasting pan (slices can overlap); cook them for about 45 min at 350 degrees F. Enjoy!

Why hello there!

While our potatoes were roasting, we got to spend some time with the chickens and also harvest more tomatoes. With these chilly fall days and nights, we are definitely nearing the end of our tomato crop, but we still managed to find a few ripe ones out there!

Next week, we'll be ready to finish prepping a garden bed so that we can get our garlic planted before the snow flies!

Wednesday, October 6, 2010

Crazy for Cabbage

Originating from the Mediterranean, cabbage (family: Cruciferae), a leafy green vegetable of the Brassica oleracea species, has been praised by ancient and modern cultures from all over the world for its high nutritional value and medicinal properties. When eaten raw, it is a significant source of vitamins C and K and a good source of folate and fiber. Its high glutamine (an amino acid) content gives this food anti-inflammatory properties, while its high indole (a phytochemical) content may increase cellular DNA repair in addition to suppressing the growth of cancer cells. It can be used in soups, stews, salads and slaws, casseroles, curries, and stir-fry dishes; it can also be fermented into dishes such as sauerkraut (click to learn how to make some at home!) and kimchi through lactic acid fermentation. Whether eaten raw or cooked, cabbage is a low-calorie and nutrient-dense food to include in a healthy diet.

Here are some cabbages commonly available at farmers markets ('tis the season for cabbage in New England!) and grocery stores:
  • Savoy Cabbage
  • Red Cabbage
  • Napa (also called pe-tsai)
  • Bok Choy (also called pak choi)
  • Mustard Greens (also called gai choy)

Did you know:
Plants of the Cruciferae family, referred to as "crucifers," typically have petals that develop in a cross-like formation, resembling a crucifix.

Media (text and images) created and published by
Rebekah Carter (2010).

Monday, September 20, 2010

Asian Cole Slaw

The chill in the air signals the return of autumn and cold-weather crops, such as those in the Brassicaceae family. Here's a fabulous and healthy recipe that puts the spotlight on Brassica oleracea, otherwise known as cabbage.

As always, feel free to switch things up with different ingredients! This dish is low-fat, vegan, gluten-free*, and delicious.

Fresh Produce:
  • 1 head of cabbage, shredded (red cabbage shown; also good with Napa variety)
  • onion OR scallions, sliced very thin
  • hot peppers, sliced (optional)

Essential Extras:
  • sesame seeds, toasted
  • slivered almonds, toasted
  • crispy/chow mein noodles (optional; not shown)

The Dressing:
  • 1/4 cup vinegar (red wine, rice wine, or apple cider work well)
  • 3/4 cup oil (olive or vegetable work well)
  • 1/2 cup sugar or sweetener of your preference
  • 2 tbsp soy sauce*
*For those on a gluten-free diet, make sure to purchase gluten-free soy sauce as some brands contain wheat.

How to Make it:

Remove the outer leaves of the cabbage head. Shred or thinly slice the cabbage (if you have a mandolin, use it to shred the cabbage; if you do not own such equipment, a large knife will do the job just as well) and place it in a large bowl. Slice the onion or scallions and pepper and add to the cabbage. Cover the bowl and place it in the refrigerator while making the dressing and toasting the nuts and seeds.

The dressing is so simple! Place all ingredients in a pot and bring to a boil for a minute; let cool.

Toast the almonds and sesame seeds separately as the seeds toast faster than the almonds. Even so, the technique is the same: place nuts/seeds in a small pan over medium heat, stirring constantly (don't leave your stove top as the nuts and seeds will burn quickly when left unattended). Toast until the nuts/seeds begin to brown.

Take your bowl of cabbage out of the refrigerator; drizzle on the dressing and toss. Sprinkle on the nuts, seeds, and noodles (not shown) and enjoy.


Media (text and images) created and published by Rebekah Carter 2010.

Tuesday, September 14, 2010

Heirloom Tomato Salad

Here's a quick and easy recipe to try out while New England's beautiful heirloom tomatoes are still available. This dish is best served immediately, so only prepare as much as you (and your family or guests) will consume. This dish is low fat, low sodium, vegan, and gluten-free.

Fresh Produce:
  • various heirloom tomatoes
  • basil, chopped chiffonade style
  • sweet onion, minced (optional)
Essential Extras:
  • extra virgin oil olive
  • balsamic vinegar
  • sugar or sweetener (optional)
  • fresh mozzarella, sliced (optional, not shown)
  • salt and pepper to taste

How to Make it:


Start with the reduction since you can prepare the fresh produce while it simmers. Place the balsamic vinegar in a small saucepan over high heat and bring to a boil. Let simmer until the vinegar is reduced by 1/2 to 2/3 the original amount. Although it will naturally sweeten as it reduces, you can make your reduction even sweeter with the additional of sugar; about 1 teaspoon to 2 cups of vinegar (which will reduce to 1 cup or less) is a good ratio to keep in mind while making your salad. Once reduced to your desired consistency, let it cool.

Wash the tomatoes and cut into bite-sized chunks; transfer tomato pieces over to their individual serving plates. If using mozzarella, also add the cheese while plating the tomatoes. Chop the basil and onion and sprinkle generously over tomatoes. Drizzle with the balsamic reduction and olive oil. Sprinkle with salt and pepper.

WHAT'S YOUR SPIN? Don't feel limited to using only heirlooms; the choice is yours! Try it with beefsteaks, plum or cherry tomatoes, or just about any other vine-ripened variety.

Media (text and image) created and published by Rebekah Carter 2010.

Wednesday, September 8, 2010

Kid Vid 3: Our Harvest Fair


Take a look at some of the goodies we harvested and prepared for parents and friends on our last day of summer programming this year.


Media (text and video) created and published by Rebekah Carter 2010.

Monday, September 6, 2010

The Last Day of Camp

Setting up shop

After six weeks of programming, it was hard to believe that summer was ending so soon! We spent our final day of camp harvesting crops, cooking, and tending our harvest fair table to share our favorite snacks and stories with parents and friends at the CSA pick-up.

What have you got today?

We had an amazing summer with all of our campers. Be sure to check out the blog for weekly posts featuring details on workshops, programs, and events held by Waltham Fields, healthy recipes, information on diet and the environment, and local food and farm events.

We hope to see you this fall and next year!

Media (text and image) created and published by Rebekah Carter 2010.

Cooking in the CLG: Homemade Sorbet

One of the most successful snacks we tried this summer was our homemade sorbet. Although there are other methods for making this dessert, we used ice cream balls to "churn" the fruit mixtures into sorbet. If you have a blender or food processor, feel free to use these to puree and blend the mixture prior to churning. Keep in mind that the more fruit you add, the chunkier your sorbet will be; the more liquid, the smoother it will be. The options are limitless as far as flavor and ingredient combinations, but here's what we tried out this summer:


Fresh produce (select one or more fruits):
  • strawberries, diced
  • raspberries
  • blackberries
  • watermelon, diced
  • cantaloupe, diced
  • peaches, diced
  • nectarines, diced
  • mint, chopped (optional)
Essential Extras:
  • water or fruit juice
  • liquid sweetener (maple syrup, agave nectar, honey, or simple syrup)
  • lemon juice
And for the ice cream balls (not to be consumed):
  • lots of ice
  • rock salt

How to Make It:

Wash and chop all produce as instructed. In a bowl, mash fruit with a fork until pureed. Add your preferred sweetener, water or juice, and a splash of lemon juice to the pureed fruit. Blend well and pour into the metal container of the ice cream ball (the mixture should reach about an inch below the rim of the metal container in the ice cream ball; add more water or juice, if needed). Seal tightly!

Flip over the ice cream ball and add ice until the ball is about 2/3 full with ice. Sprinkle in a couple tablespoons of rock salt* and tighten the lid. Shake the balls continuously for at least 10 minutes or until sorbet becomes solid.

Enjoy alone or with toppings of your preference!

*The rock salt is required to melt the ice but keep the water at freezing (32 degrees F) so that the sorbet will congeal (change from liquid to solid).

Other flavor/ingredient ideas to try at home:
  • coconut milk or flakes
  • banana, mango, papaya, kiwi, or another exotic fruit
  • chocolate (pieces or cocoa powder)
  • mocha (chocolate and coffee/espresso)
  • citrus (lemon, lime, orange, grapefruit)


Shake it!


Media (text and image) created and published by Rebekah Carter 2010.

Sunday, September 5, 2010

Cooking in the CLG: Crostini and Bruschetta

Another favorite snack amongst the kids this summer was our rendition of crostini and bruschetta. It's a quick and easy snack that can double as a fancy hors d'oeuvre (pronounced "awr-durv," meaning "appetizer" in French).
Crostini means "little crusts" in Italian (below)

Our fresh ingredients for the bruschetta:
  • Fresh tomatoes, sliced and diced
  • Onion, diced
  • Garlic, crushed and minced
  • Basil, chiffonade or chopped
Extra essentials:
  • Olive oil
  • Baguette (or preferred bread), thinly sliced*
  • Salt and pepper to taste
*Gluten-free alternatives: non-wheat crackers or bread

Preheat your oven/toaster oven to 350 degrees F.

Wash and cut fresh items as instructed. Combine fresh ingredients in a bowl and gently toss with olive oil (just enough to lightly coat the tomatoes). Put aside.

Thinly slice the baguette or preferred bread (bread that's going stale works great, too!). With a basting brush or clean finger, lightly coat both sides of each slice with olive oil. Place bread slices in a single layer on a baking sheet; toast for about 5 minutes or until golden brown. Garnish with a spoon full of bruschetta. Bon appétit!

Media (text and image) created and published by Rebekah Carter 2010.

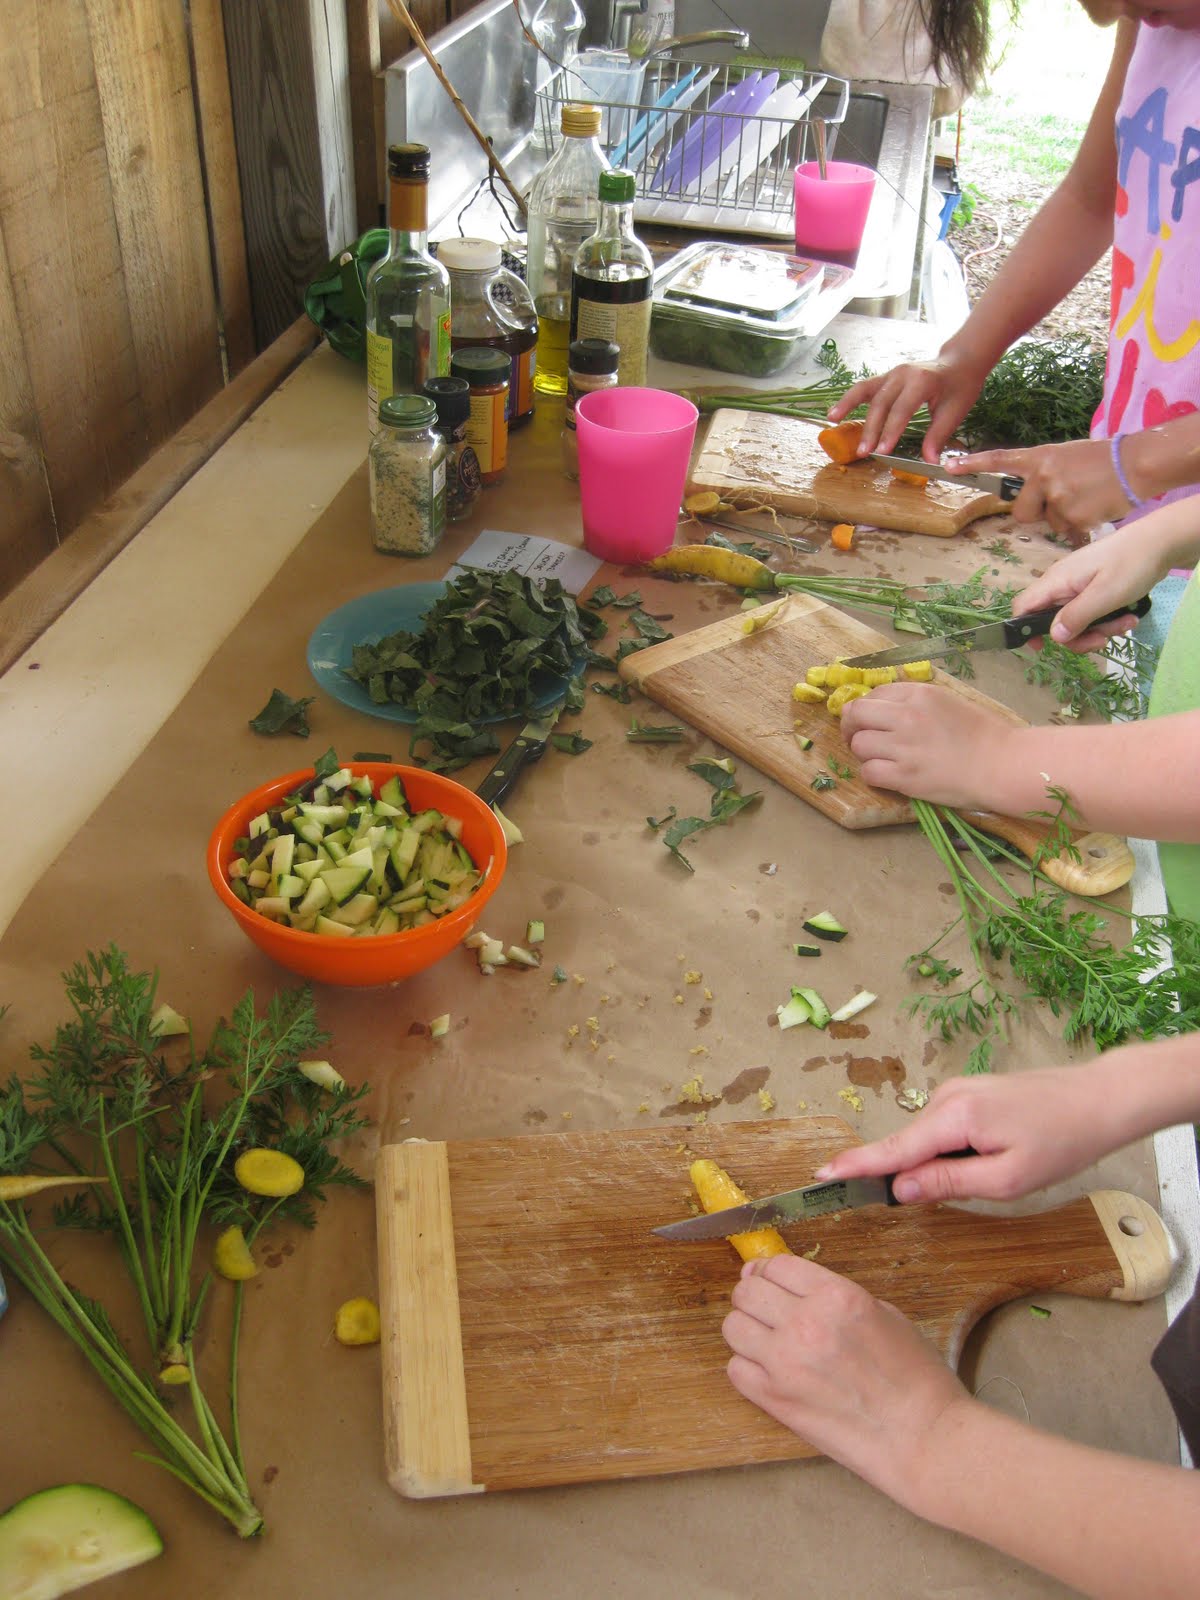
Cooking in the CLG: Curried Vegetables

Preparing vegetables for cooking (above)

In trying to encourage kids to sample new fruits and vegetables as well as exotic dishes, we prepared curried vegetables with rice as an example of a healthy meal they could share with the family. Our variation on curry is low-fat, vegan, and gluten-free.

We included the following ingredients in our curry:
Curry on the stove top (below)

Fresh produce:
  • carrots, sliced
  • onion, diced
  • garlic, crushed and minced
  • zucchini, sliced
  • summer squash, sliced
  • kale or Swiss chard, cut into strips
  • chickpeas, canned and rinsed or dry and cooked prior
  • cilantro, chopped
  • thyme, chopped
Curry sauce:
  • Indian curry powder
  • cumin, ground (not whole seed)
  • water
Essential extras:
  • olive oil
  • garlic salt or sea salt
  • cooked brown rice

We first washed and cut/chopped our vegetables and herbs, keeping each item in a separate bowl. Over medium heat, we added our oil, onion, garlic, and fresh herbs (cilantro and thyme) to the pot. As the onions started to become translucent, we added our curry sauce (combine curry powder, cumin, and just enough water to make the mixture a liquid) to the pot and let it simmer for a minute or two. We then added the vegetables in the following order, so as to achieve the best texture for each item: carrots, chickpeas, kale/chard, summer squash and zucchini. Be sure to allow about 5 minutes between each addition; the summer squash and zucchini cook quickly and should be added last. Serve the curry over rice and enjoy!

Due to food sensitivities and taste preferences, we did not make our curry spicy. At home, feel free to liven things up by adding fresh hot peppers (diced) or ginger (crushed and minced) to the pot OR adding powdered ginger, cayenne pepper, or red pepper flakes to the curry sauce. Just be careful when adding spicy ingredients; what may seem like a little can result in a lot of heat!

Media (text and image) created and published by Rebekah Carter 2010.

Monday, August 30, 2010

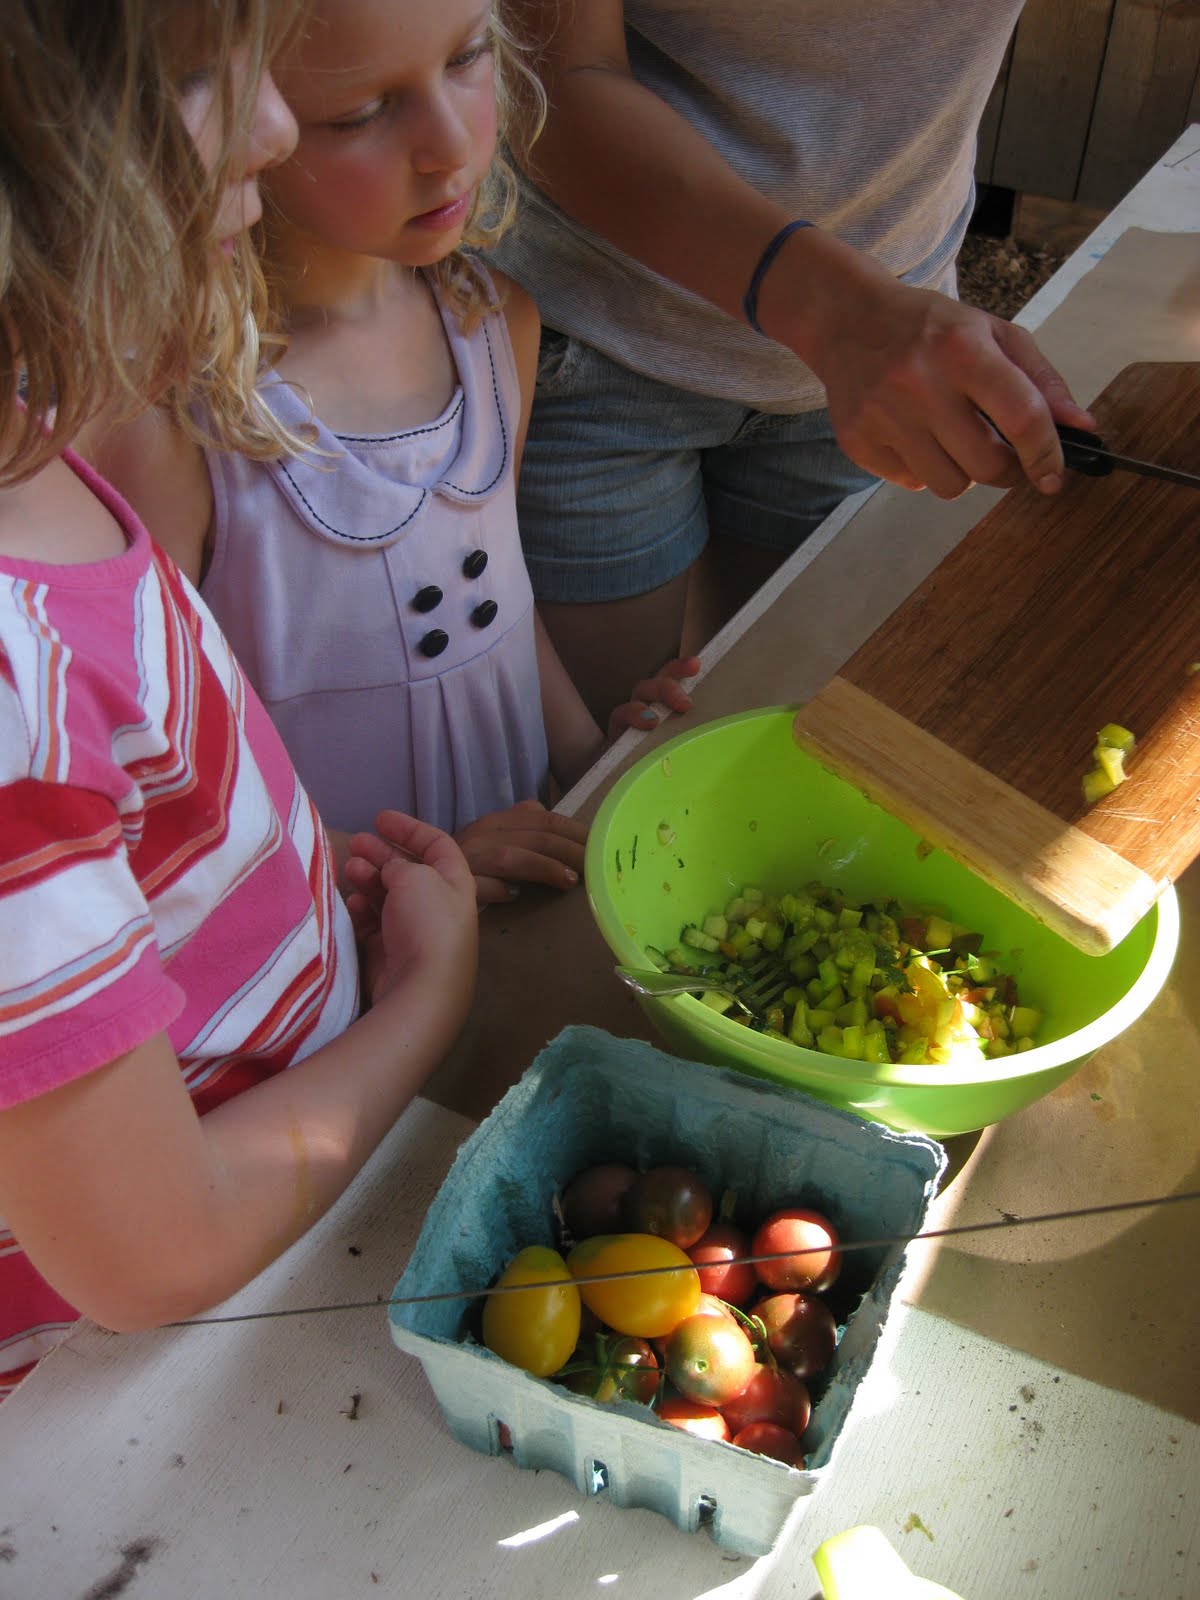
Cooking in the CLG: Salsa Fresca

One of our summer program's biggest hits on the snack circuit was our Salsa Fresca! While we encouraged the kids to try cooking new dishes without calculated recipes, these are the ingredients you'll likely want on hand if making the salsa:

Must haves:
  • fresh tomatoes (diced)
  • onion
  • fresh cilantro
  • salt
  • cumin (ground, not whole seed)
  • olive oil
  • your favorite chip or cracker for salsa dipping
Here are some optional additions we used this summer:
  • fresh garlic
  • bell pepper
  • cucumber
  • zucchini (diced or sliced thin for chips!)
  • basil
  • chives or leeks


Media (text and image) created and published by Rebekah Carter 2010.

After the Harvest: Cooking


A key component of our Learning Garden programming is establishing "farm-to-plate" connections between the kids and the food they eat. By working directly in the garden and allowing the kids to cook up their own healthy snacks in our outdoor kitchen, they are better able to understand and appreciate how food is grown, distributed and prepared, as well as its nutritional significance to human health.

All of our snacks are vegan and are mostly free of nuts and seeds. If you have a particular concern about your son or daughter, please contact Jericho (jericho@communityfarms.org) so that we can do our best to accommodate your child's needs.


Media (text and image) created and published by Rebekah Carter 2010.